Using rename actions
With rename actions you can rename music files and it folder in one mouse click. At first you need to create new rename action by clicking Manage Actions button in Rename Actions toolbar. After this you will see Manage Actions window:
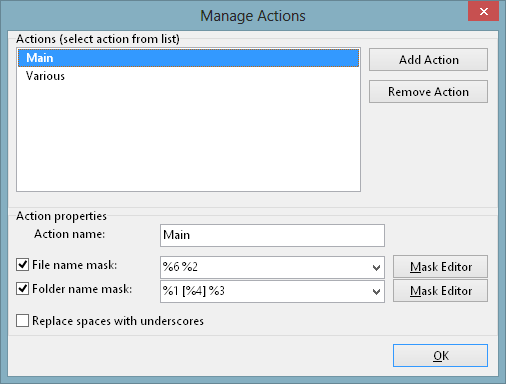
Manage Actions window.
Press Add Action button to add new action. Select this action and set Action name, File name mask and Folder name mask in it (if you only want to rename files, you dont need to check and set Folder name mask).
Note: in rename actions masks you cant create sub-folders while renaming, i.e. you cant use "\" in rename masks.

Manage Actions window with one action.
In Manage Actions window you can add as many actions as you need. Press OK button after you added all actions. After this, you will see buttons in Rename Actions toolbar corresponding to every created action:

Rename Actions toolbar with button Main corresponding to "Main" Action.
To run an action you need to select files in Tag&Rename file list and press action button in Rename Actions toolbar:
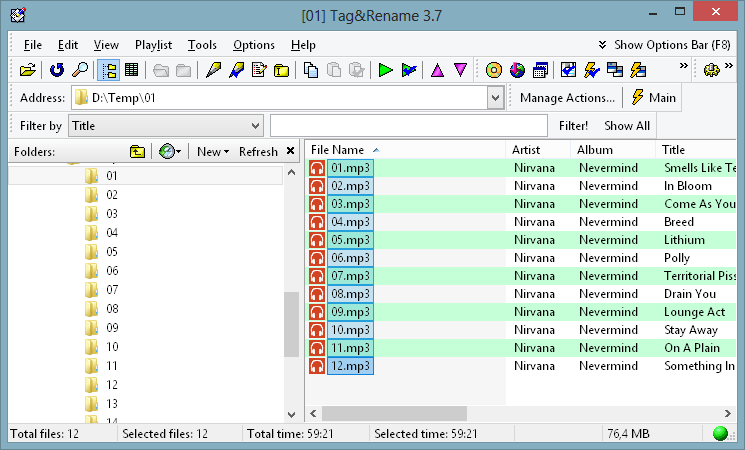
Main window with files selected in files list before we press Main action button.

Main window after we press Main action button (both files and folder renamed according to action settings).
Actions can be also applied to multiple folders. Here is an example:
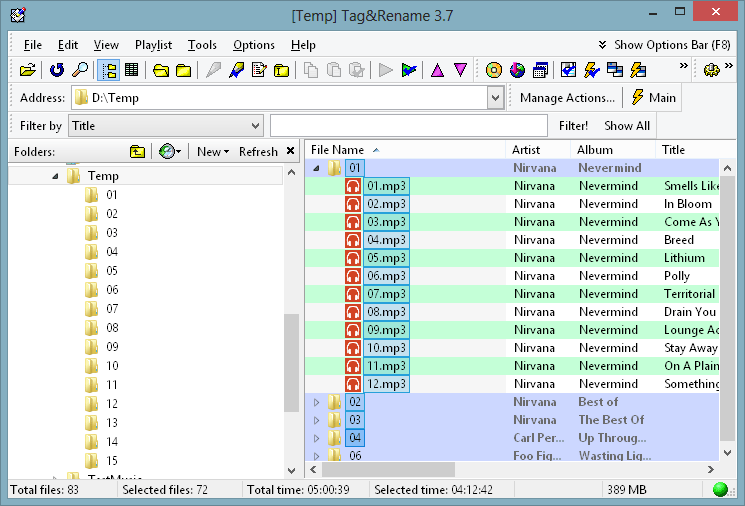
Before Main action applied.
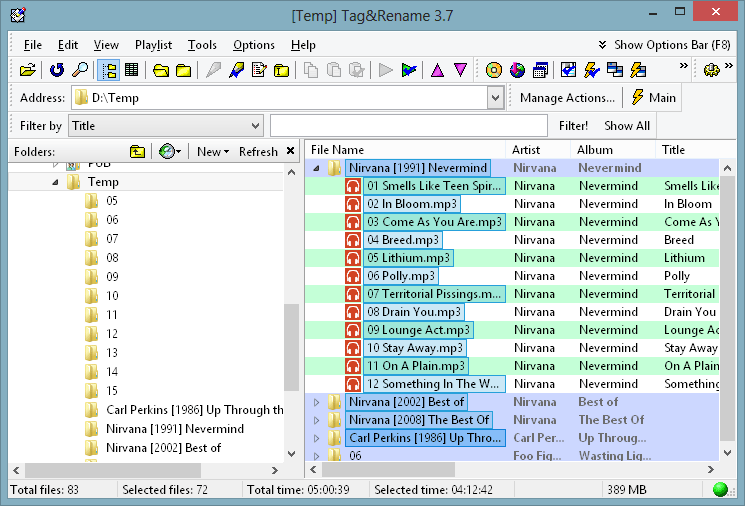
After Main action applied (all selected files and folders renamed).
Actions also can be used in freedb.org and Web import: you can set what action must be applied to album files after album data will be written to files tags.